
Workshop practice
How to Photograph Watches for Repair Records
A repair photograph does not need to look like an advertisement. It needs to show the right watch, at the right stage, clearly enough to be useful later. A consistent set of views makes it easier to record intake condition, explain a finding and document completed work.
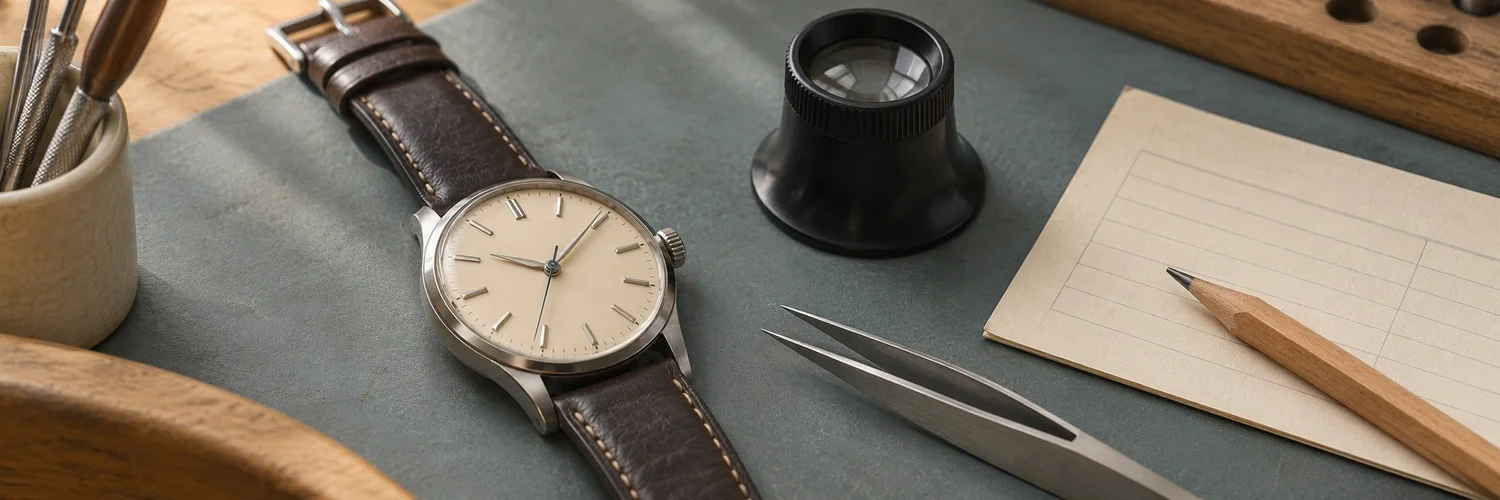
1. Set up a simple, repeatable space
Use a clean, stable surface and a plain background. Soft window light or a diffused lamp is a useful starting point. Move the light or the camera when a bright reflection hides a feature. Rest the camera or phone securely, focus on the detail that matters and review the image at full size before putting the watch away.
Consistency is more useful than elaborate equipment. Keep a similar background, distance and lighting for your usual views so that before-and-after photographs can be compared fairly.
2. Take an overview before the close-ups
Start with the complete watch as received. Then take the front, back and relevant sides, including the crown area, case edges and clasp or buckle. Photograph accessories together and separately where identification or quantity matters.
Include the job tag in an initial reference image, or otherwise associate the files with the job immediately. Keep unnecessary customer details out of the frame, especially if images may later be shared.
3. Show marks clearly without changing the evidence
For a scratch, dent or missing part, take a context view first and a closer view second. Try a second lighting angle if a reflection makes the mark hard to see. If size matters, place a suitable scale nearby without covering or risking damage to the watch.
Keep the original files. Avoid filters, retouching or AI reconstruction that could remove a mark or invent detail. A crop can help someone locate an issue, but it should not be the only version you retain. If a photograph cannot show a finding clearly, add a written observation rather than overstating what the image proves.
4. Label the stage and the reason for the photograph
Use short, useful captions: “Intake - dent beside crown”, “During service - damaged component” or “After service - assembled watch”. Take progress photographs when they explain a finding or decision, not simply to accumulate more files.
For a before-and-after pair, use comparable views and lighting. Keep timing measurements in the test record; an attractive photograph does not demonstrate performance or replace a measured result.
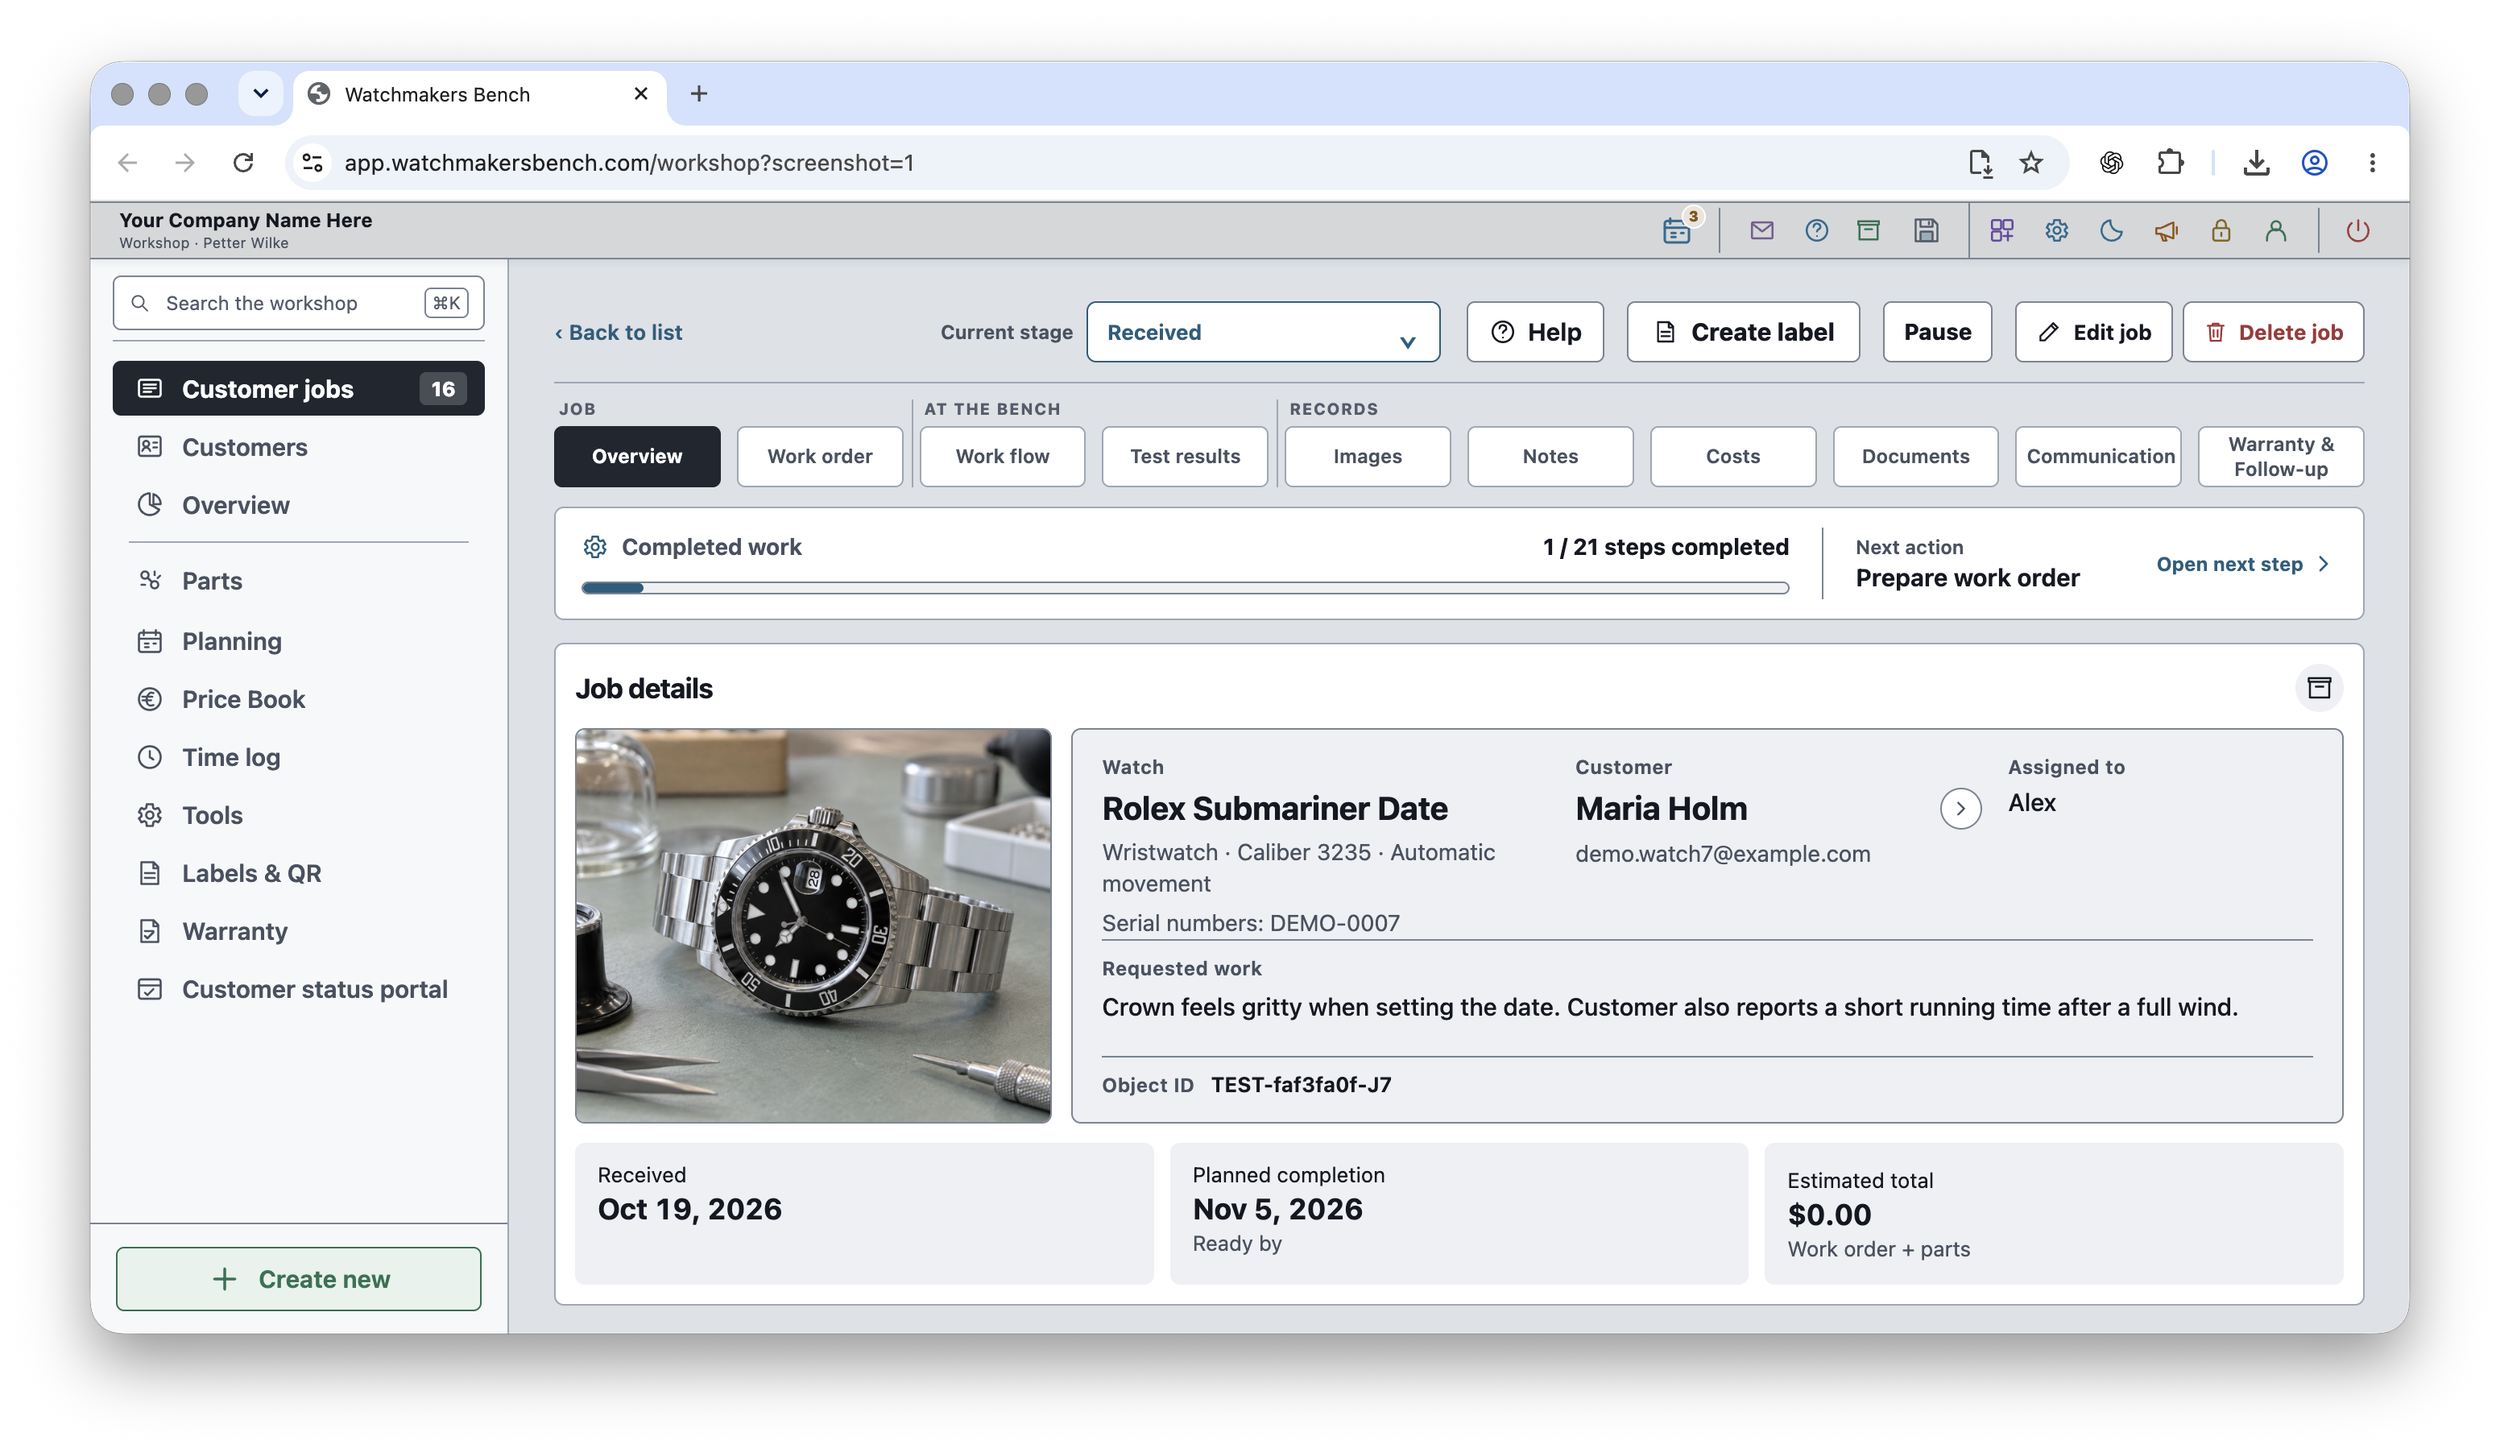
5. Keep the files with the job
Transfer pictures before they become mixed with unrelated camera-roll images. Use a consistent name, such as “J104-intake-caseback-01”, and retain enough resolution to examine the detail. Check that the files open after transfer and include them in your workshop’s backup routine.
Review photographs before sending them to a customer. Documentation and marketing serve different purposes: do not assume a repair photograph is suitable for public posting just because it is useful internally.
A practical intake photo set
- Complete watch and job reference.
- Dial and crystal.
- Caseback and identifying details.
- Crown area, case sides and lugs.
- Strap or bracelet and clasp.
- Accessories received.
- Visible damage: context view plus close-up.
Use these views with the Watch Repair Intake Checklist, including its downloadable paper form. For the rest of the job, see the repair workflow guide.