
Workshop practice
Watch Timing Results Before and After Service
A reading of +2 seconds per day looks straightforward. On its own, though, it does not tell you the watch’s position, when it was wound or whether the reading was taken before or after regulation. Recording those details turns a number into a useful service record.
This guide covers documentation for mechanical watches. It is not a set of acceptance limits or a substitute for the movement manufacturer’s service information and your instrument’s instructions.
1. Save the intake readings as a baseline
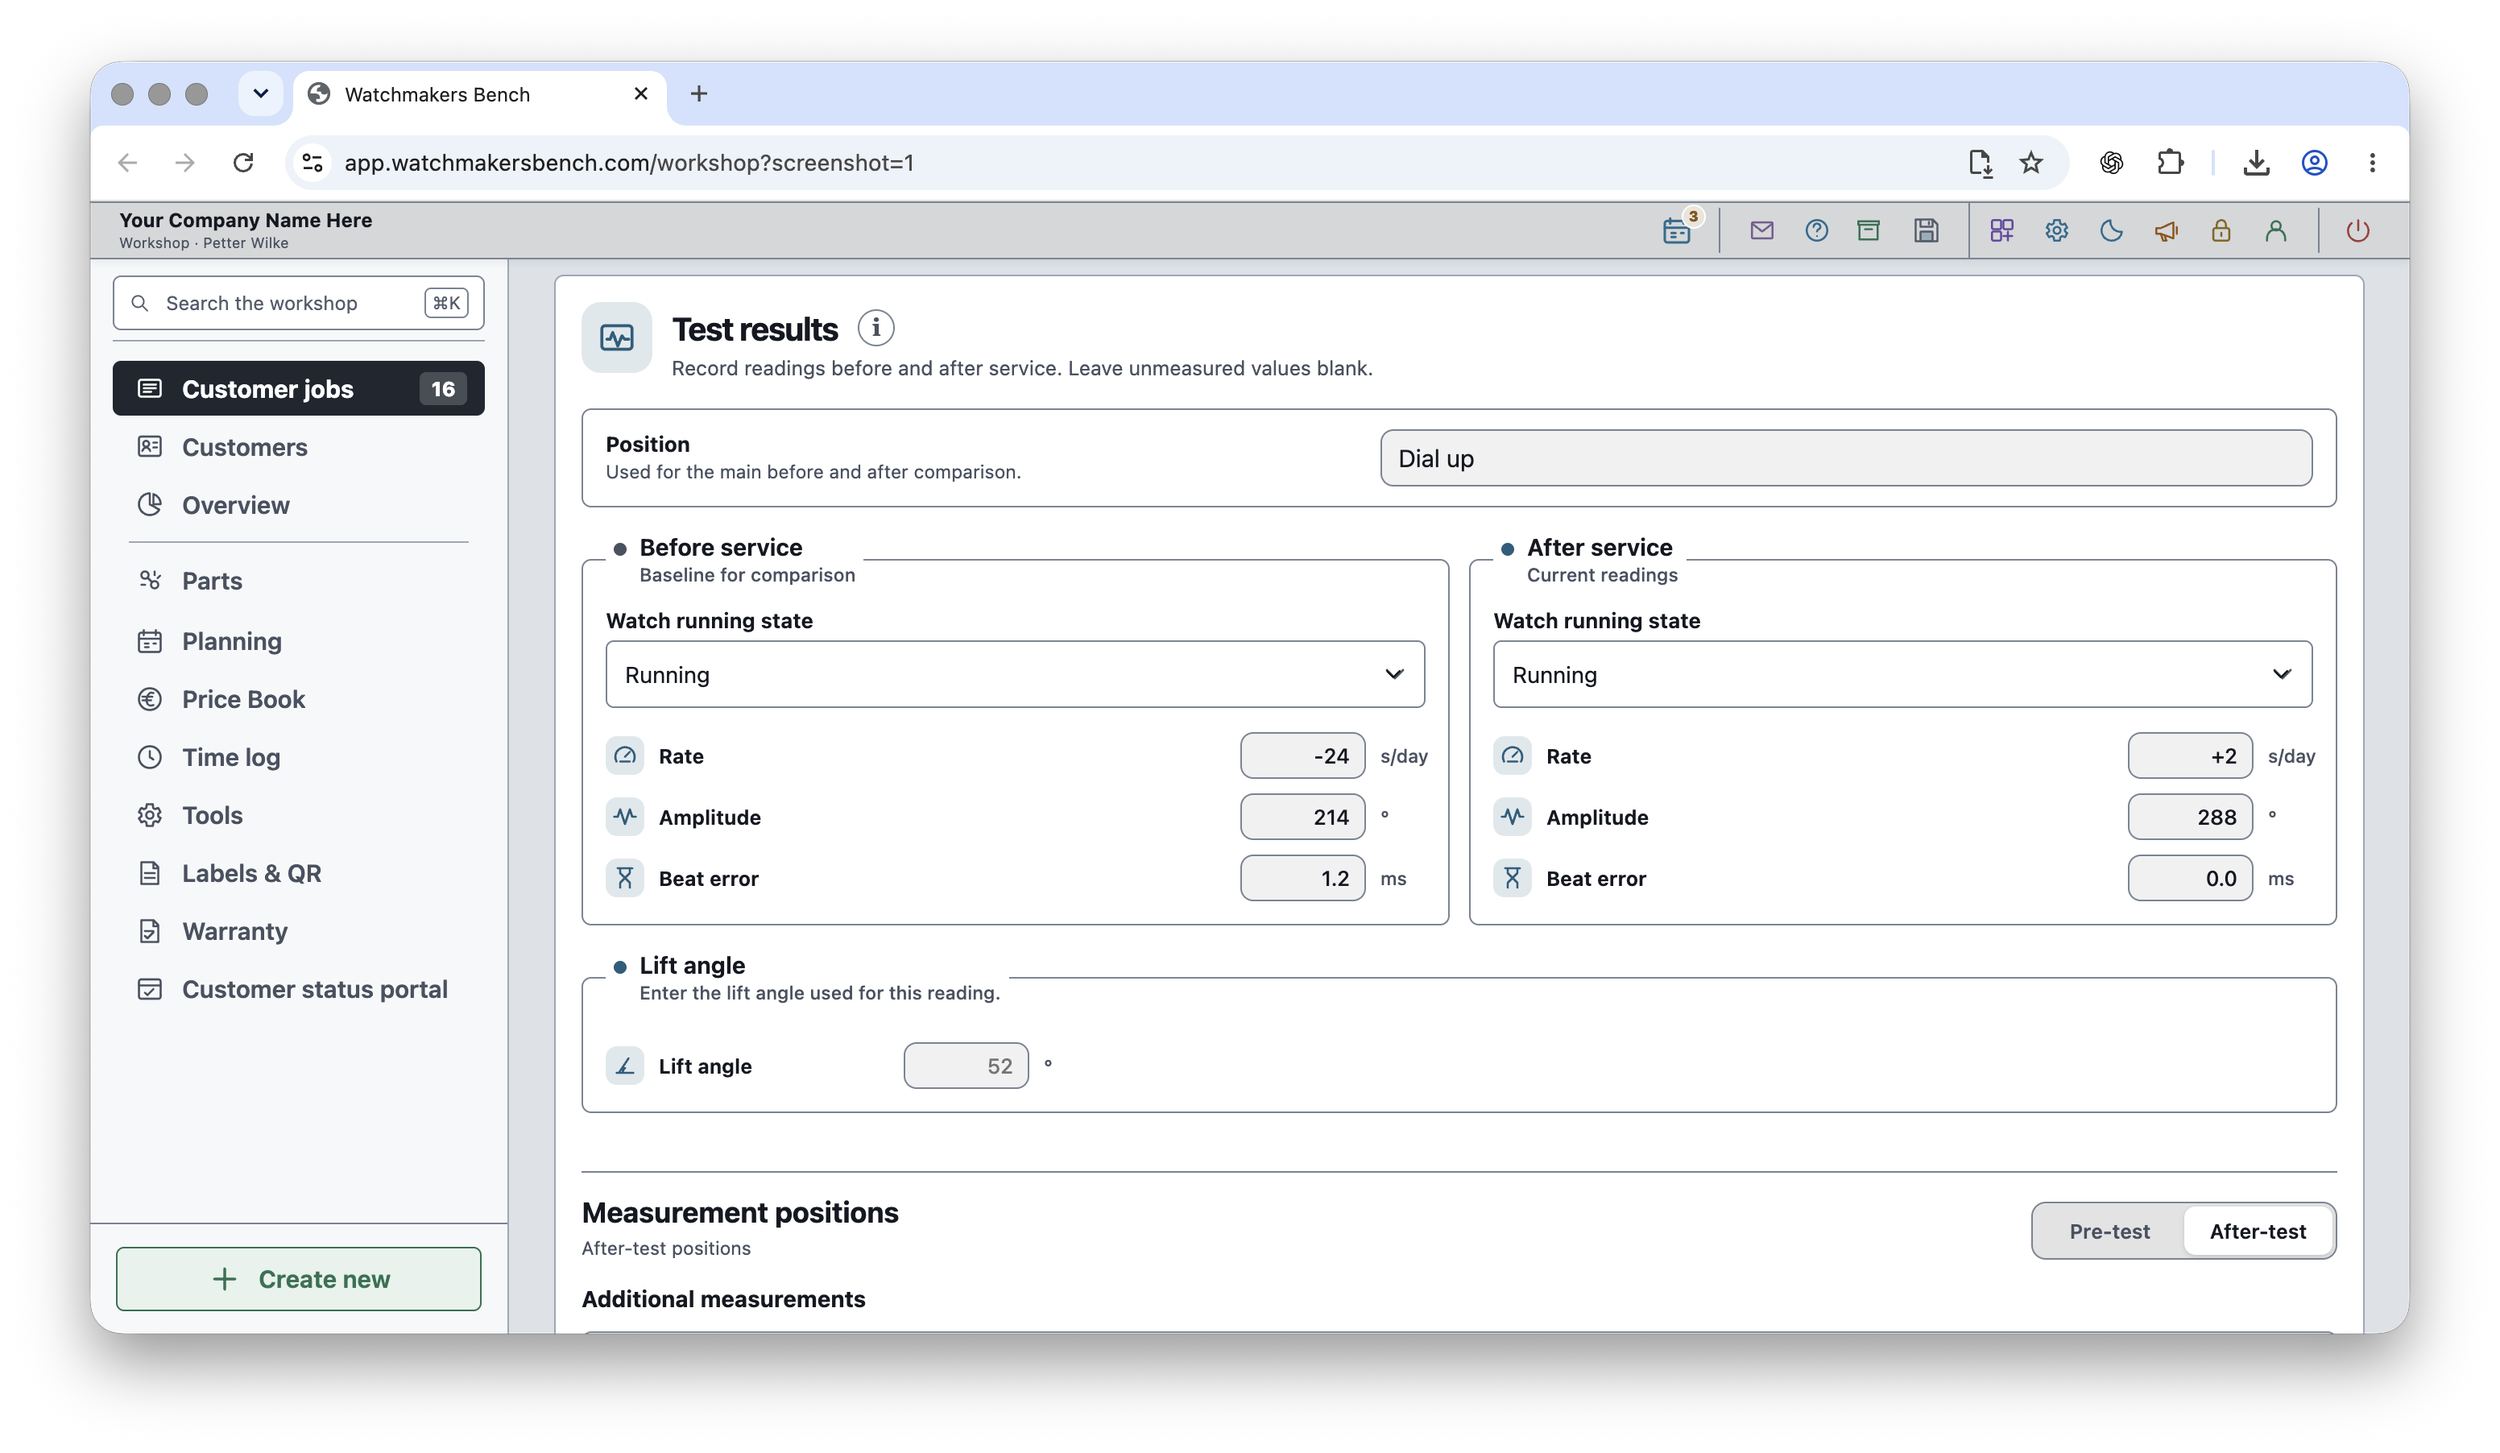
If the watch is running and suitable for testing, record its condition before making adjustments. Keep the date, watch or job number, position and measurement conditions with the results. If it is not running, record that state rather than entering zero in fields you could not measure.
In Watchmakers Bench Studio, the Test results view separates before-service readings from after-service readings. Leave unmeasured values blank. A blank field and a measured zero mean different things.
2. Keep the settings with the measurement
Record the test position, state of wind and, where relevant, elapsed time since winding. Include the lift-angle setting used, the instrument or test mode and any other conditions needed to repeat the test. If there is no dedicated field, put the detail in the job notes.
Do not copy a setting from another watch simply because it looks similar. Check the information appropriate to the movement and instrument. For context, Witschi’s ChronoMaster specifications list test positions, manual lift-angle input and separate measurements for rate, amplitude and beat error.
3. Compare matching conditions
Keep each position identifiable. A dial-up intake reading and a crown-down final reading are not a like-for-like pair. If the final test uses different conditions, retain both records and explain the difference rather than presenting it as a direct comparison.
The same applies to intermediate readings. A result taken after cleaning, a result after regulation and a final cased result belong to different stages. Give each a clear label so the most recent number does not erase the earlier evidence.
4. Record the work between the tests
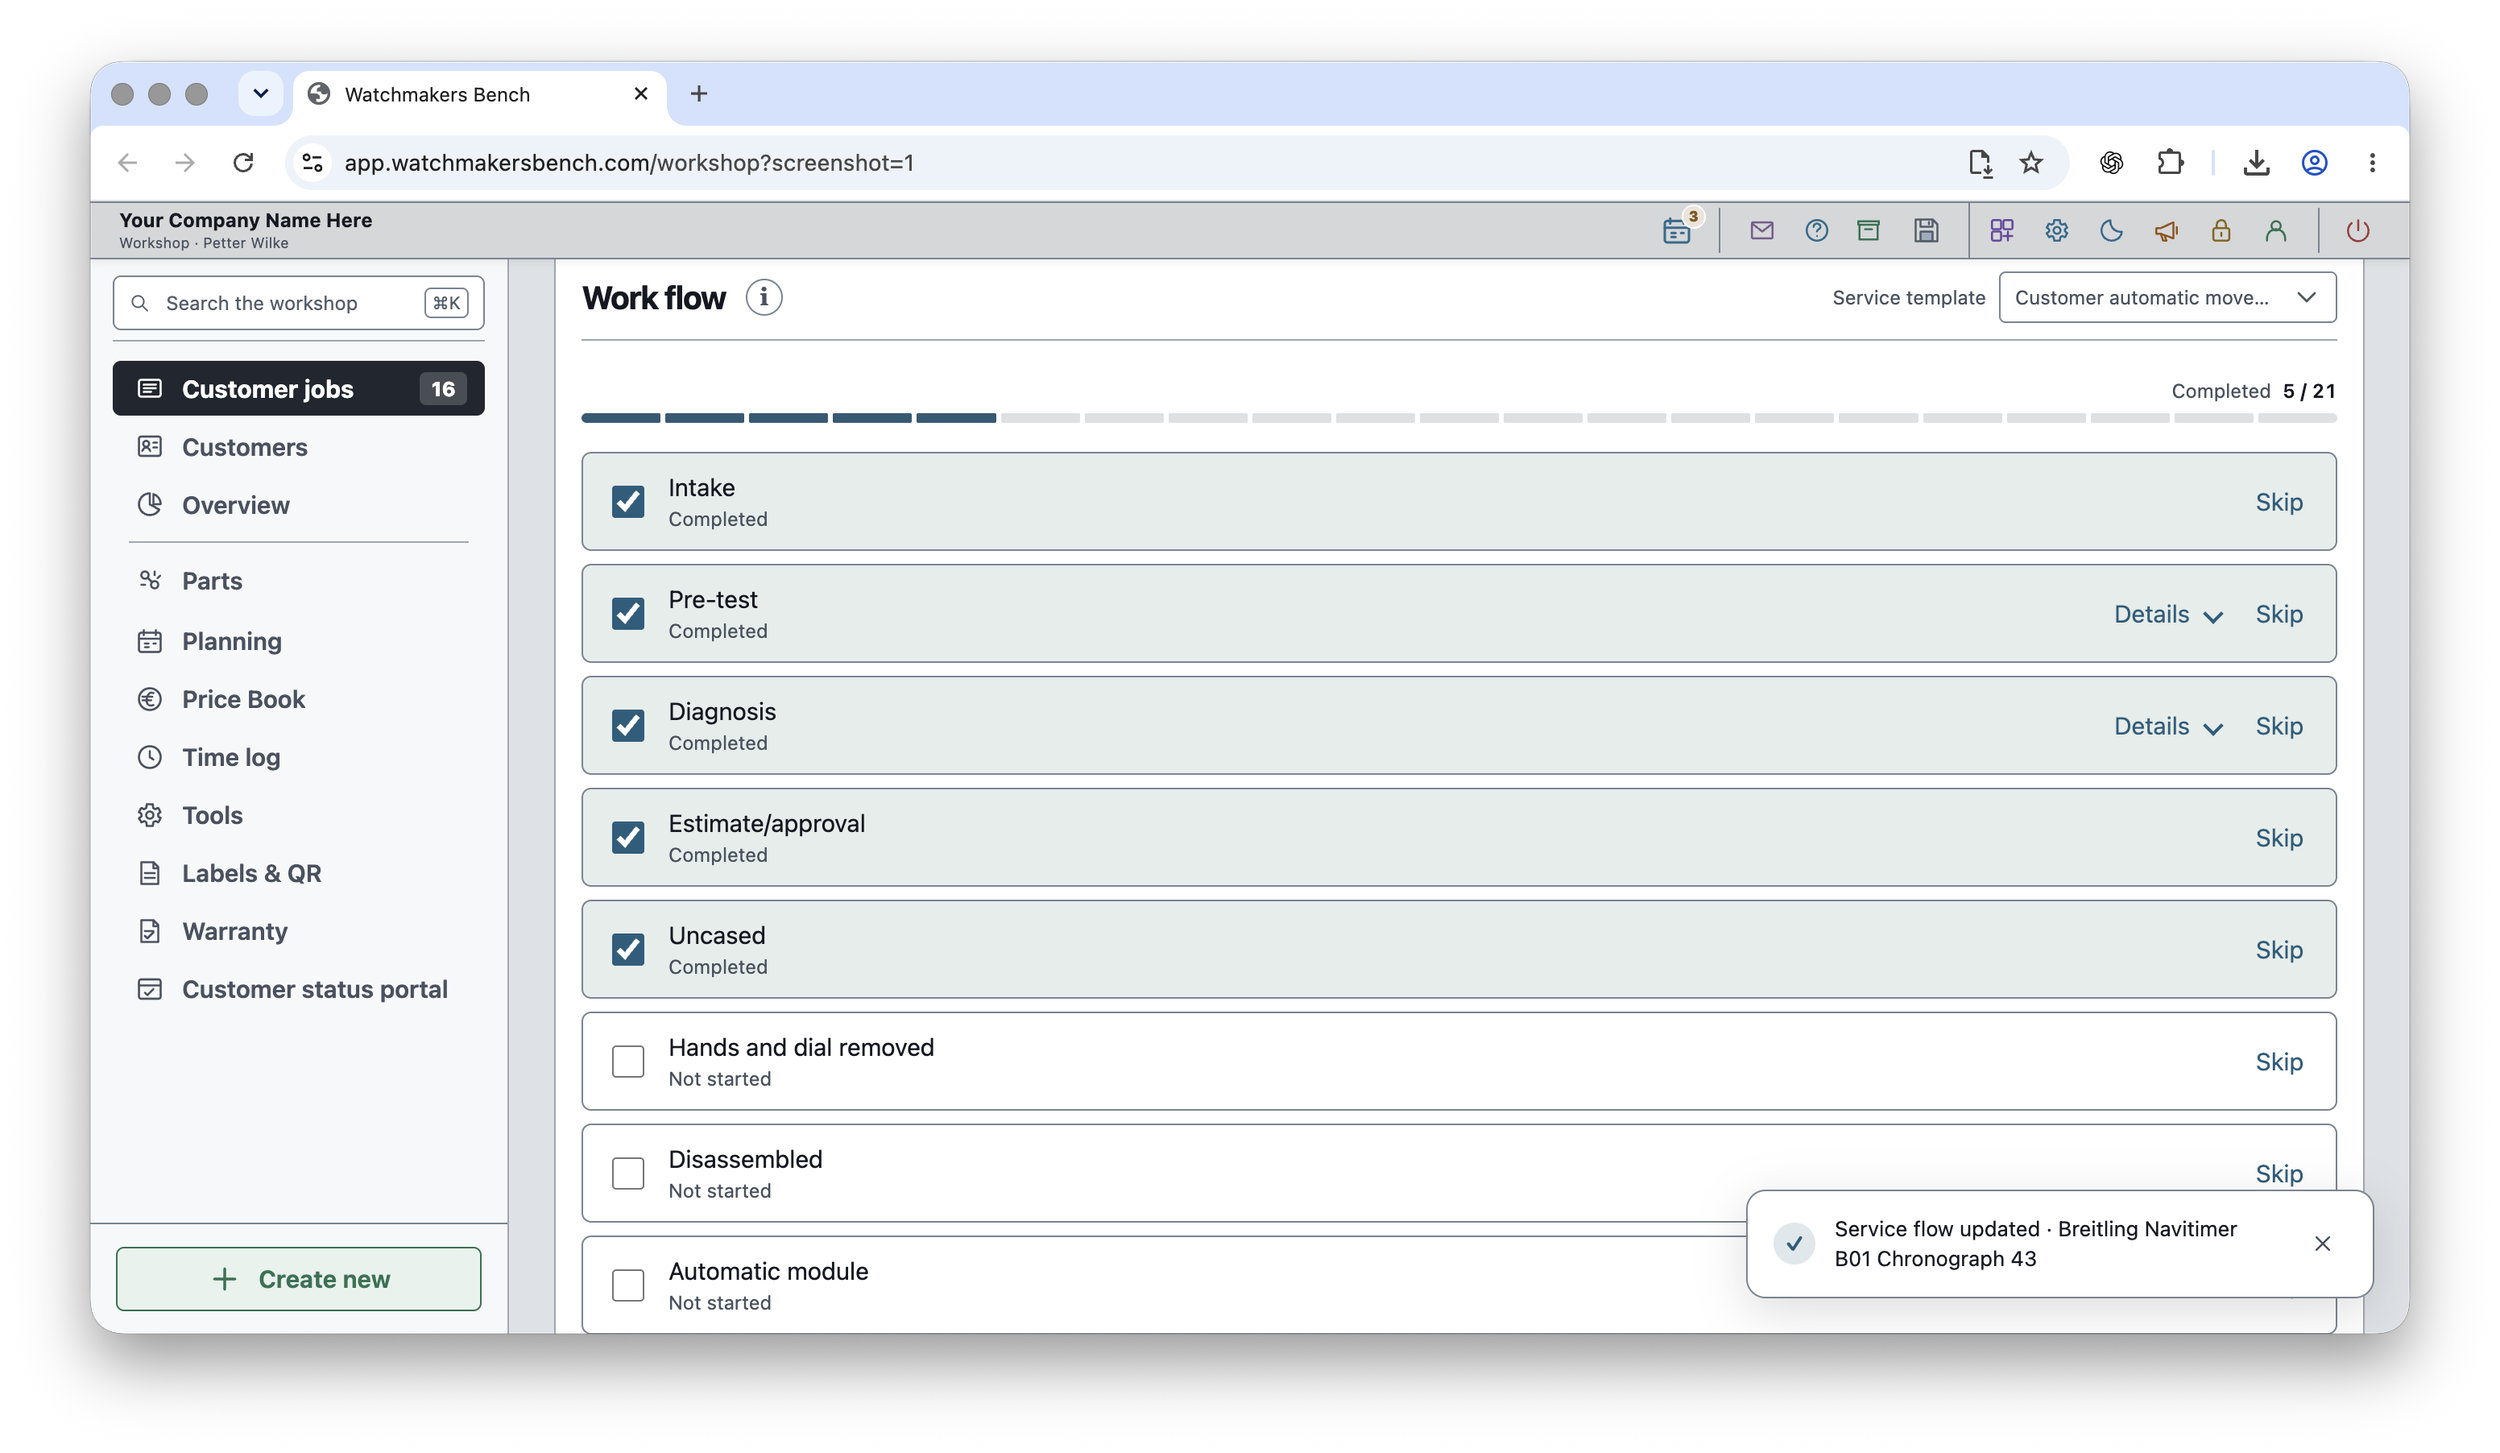
A before-and-after comparison is more useful when it sits alongside a record of the service. Note what was carried out, which parts were replaced and whether any further checks are outstanding. A completed checklist shows progress; it does not replace the actual measurements.
5. Keep the conclusion proportionate to the test
Use the relevant manufacturer’s criteria and service procedure when assessing results. Do not turn the example values in a screenshot into universal pass limits.
When handing the watch back, distinguish a recorded bench measurement from a promise about performance in every wearing condition. Timing results also do not document unrelated checks, such as water resistance. Record those separately when they form part of the agreed work.
A useful timing record includes
- Watch or job identification and test date.
- Stage: intake, intermediate or final test.
- Running state, position and winding conditions.
- Rate in seconds per day, amplitude in degrees and beat error in milliseconds, where measured.
- Relevant instrument settings and any limitations of the test.
- The work performed between the readings and any outstanding checks.
For the complete job record, see the repair workflow guide. For keeping the scope of work clear, read estimates and customer approval. Explore the app’s features for more about service documentation.